Dead by Daylight Glyphs: Red, Blue, and Yellow Guide for 2026
Dead by Daylight Glyphs guide: Red, Blue, and Yellow Glyphs explained with risks, Bloodpoints rewards, and interaction tips.
In the fog-drenched trials of Dead by Daylight, small, colorful rifts sometimes appear in random corners of a map. These are Glyphs, and they offer Bloodpoints to players willing to commune with them. The bargain is simple but not free: while interacting with a Glyph, the player becomes temporarily more visible. In 2026, the three classic variants—Red, Blue, and Yellow—remain recognizable to anyone who has chased Tome challenges through the Entity's realm. They are less like objectives and more like minor constellations that have fallen out of the sky and wedged themselves behind a pallet. Each color changes the risk, the reward, and the rhythm of a trial.
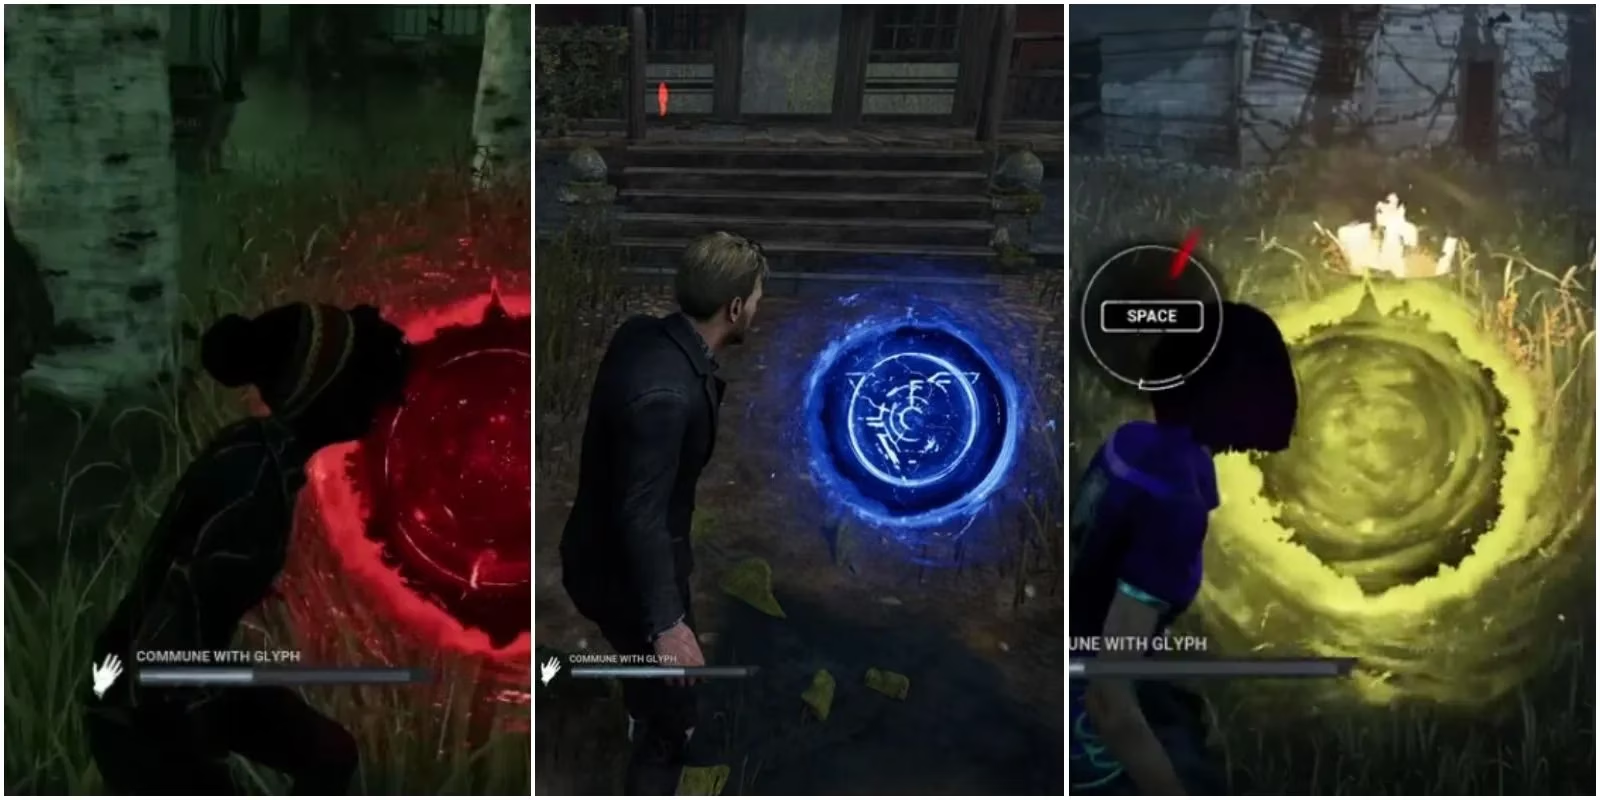
Only one player can see and interact with a Glyph at a time, which makes the encounter feel private even when four other players are sprinting across the same map. That privacy is an illusion. The moment someone communes with a rift, nearby enemies may notice the telltale glow. The Glyph system therefore rewards timing, map awareness, and a willingness to accept a brief spike in danger for a stack of Bloodpoints.
Red Glyphs: The Shared Risk
Red Glyphs are the only variant that both survivors and killers can interact with. They are equal-opportunity rifts, though still limited to one player at a time. When a player communes with a Red Glyph, their visibility increases within an 8-meter radius. That radius is small enough to forgive poor positioning, but large enough to matter if a killer is already patrolling nearby. The interaction time is 3 seconds for survivors and 1.5 seconds for killers, giving killers a natural advantage in shutting the rift quickly. Beyond the temporary visibility increase, Red Glyphs have no additional gimmick. They are the simplest and safest of the three, a straightforward trade of a few seconds for Bloodpoints.
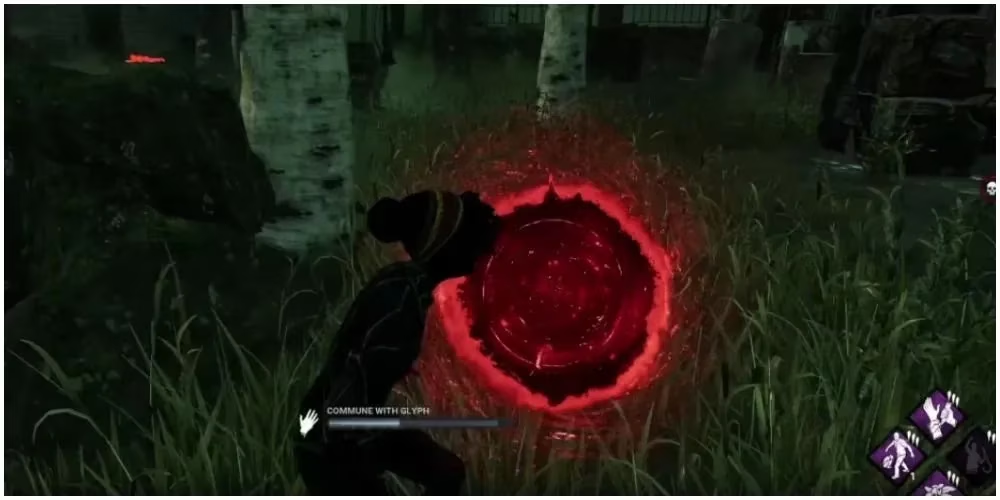
For survivors, a Red Glyph is often worth closing if it appears along a rotation path or near a completed generator. For killers, it can be a quick detour between chases, though the 1.5-second interaction still creates a window of vulnerability. Because both roles can see and use Red Glyphs, they can become small psychological traps. A survivor might start communing only to hear a Terror Radius swell; a killer might pause to close one and lose pressure on a nearly finished generator. The Red Glyph does not demand much, but it does ask the player to think about what else is happening on the map.
Blue Glyphs: The Survivor's Gamble
Blue Glyphs are available only to survivors. They take 3 seconds to close and increase the player's visibility within a 10-meter radius. That larger radius already makes them riskier than Red Glyphs, but the real cost arrives after the rift is sealed. The survivor is afflicted with either the Blindness or Oblivious status effect for 60 seconds. Closing a Blue Glyph is like accepting a loan from a bank that charges its interest in sensory deprivation. Blindness prevents the use of Aura-reading abilities, while Oblivious prevents the survivor from hearing the killer's heartbeat within the Terror Radius. Both effects can turn a confident loop into a blind stumble.
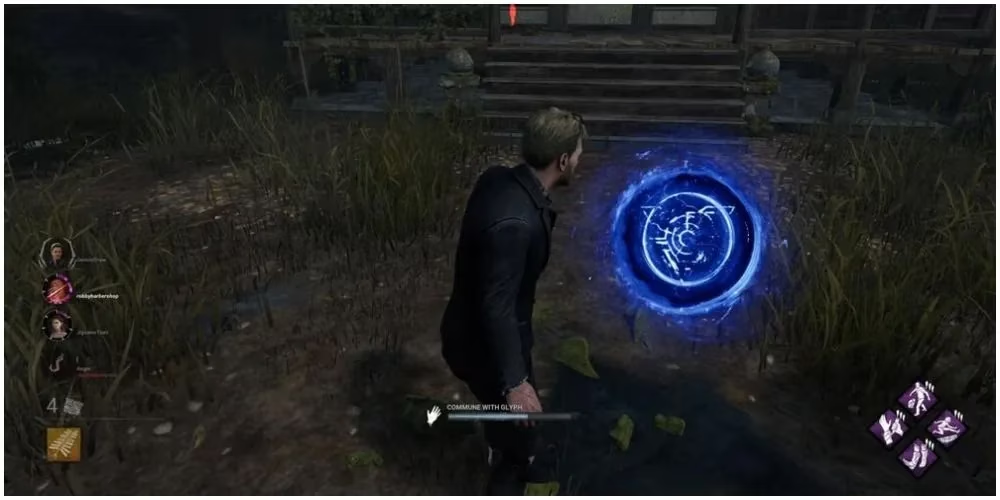
The randomness of the penalty means survivors cannot fully prepare for the outcome. Blindness punishes builds that rely on information, such as perks that reveal generators, chests, or other survivors. Oblivious punishes players who depend on audio cues to know when to hide or run. In either case, 60 seconds is long enough to cover a chase, a rescue, or a critical generator repair. A Blue Glyph is therefore best closed when the killer is occupied far away, when teammates can provide information, or when the survivor has a safe route to disappear. It is a gamble that can pay off in Bloodpoints, but it can also hand the killer an advantage.
Yellow Glyphs: The High-Stakes Reflex Test
Yellow Glyphs are the most demanding of the three. They require 5 full seconds of interaction, the longest of any Glyph, and they increase the player's visibility within a 16-meter radius. That combination makes the survivor a beacon for a dangerously long time. Worse, communing with a Yellow Glyph triggers multiple skill checks through simple reflex-based mini-games. Failing one causes the Yellow Glyph to teleport elsewhere on the map. The Yellow Glyph behaves like a tiny, luminous landlord: it demands five seconds of rent and, if the tenant fumbles the paperwork, it simply vanishes to another property.
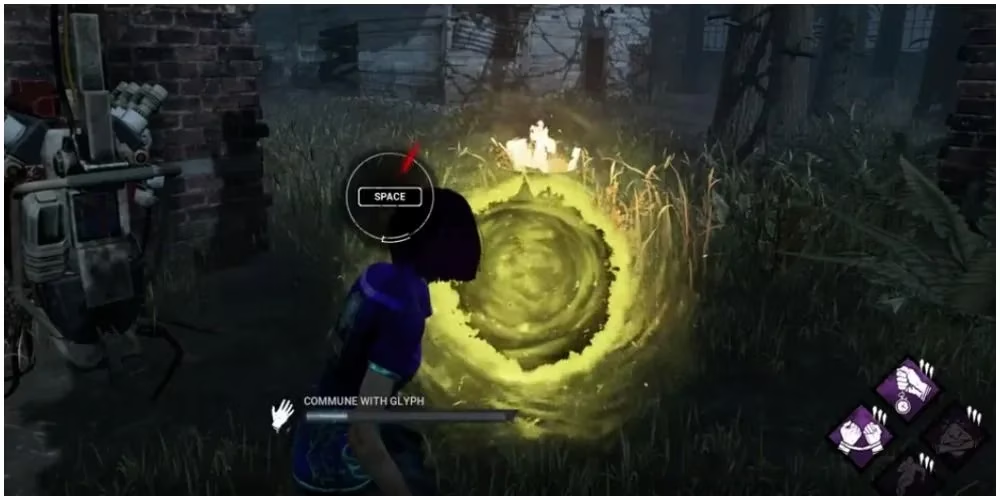
The Yellow Glyph is not just a test of reflexes; it is a test of nerve. The 16-meter visibility radius can reveal the survivor to a killer approaching from an unexpected angle, and the 5-second interaction leaves little room to react. If the skill checks are failed, the survivor loses the opportunity entirely and must search the map again. For that reason, Yellow Glyphs are often best attempted after the killer has committed to a chase on the opposite side of the map, or when the survivor is healthy and has a strong escape route. The reward is still Bloodpoints, but the cost is time, exposure, and the frustration of a missed skill check.
Glyph Comparison at a Glance
| Glyph | Available To | Interaction Time | Visibility Increase | Additional Effect |
|---|---|---|---|---|
| 🔴 Red | Survivors and Killers | 3s survivor / 1.5s killer | 8 meters | None |
| 🔵 Blue | Survivors only | 3 seconds | 10 meters | Blindness or Oblivious for 60 seconds |
| 🟡 Yellow | Survivors only | 5 seconds | 16 meters | Multiple skill checks; failure teleports the Glyph |
As of 2026, Dead by Daylight remains available on Microsoft Windows, PlayStation 4 and PlayStation 5, Xbox One and Xbox Series X|S, Nintendo Switch, and mobile devices via Android and iOS. The Stadia version is no longer relevant because that platform shut down in 2023. Across all supported platforms, Glyphs continue to appear as optional Bloodpoint opportunities tied to Tome challenges and Archive progress. They are not mandatory, but they add a small, glittering layer of decision-making to every trial.
The best approach is to treat each Glyph according to its color and context. Red Glyphs are quick, shared, and relatively safe. Blue Glyphs are tempting but can leave a survivor sensorially naked for a full minute. Yellow Glyphs are the most dangerous, demanding patience, sharp reflexes, and a map situation that allows five seconds of stillness. In the Entity's realm, even a tiny rift can become a turning point. A player who respects the differences between red, blue, and yellow will collect Bloodpoints without becoming the next sacrifice.
Leave a Comment
Comments