How to Master Dead by Daylight’s Onryō Sadako: Stealth, Condemned, and Strategy
Sadako Yamamura, the Onryō, wields Demanifestation and Condemned in Dead by Daylight; use perks like Call of Brine for map control.
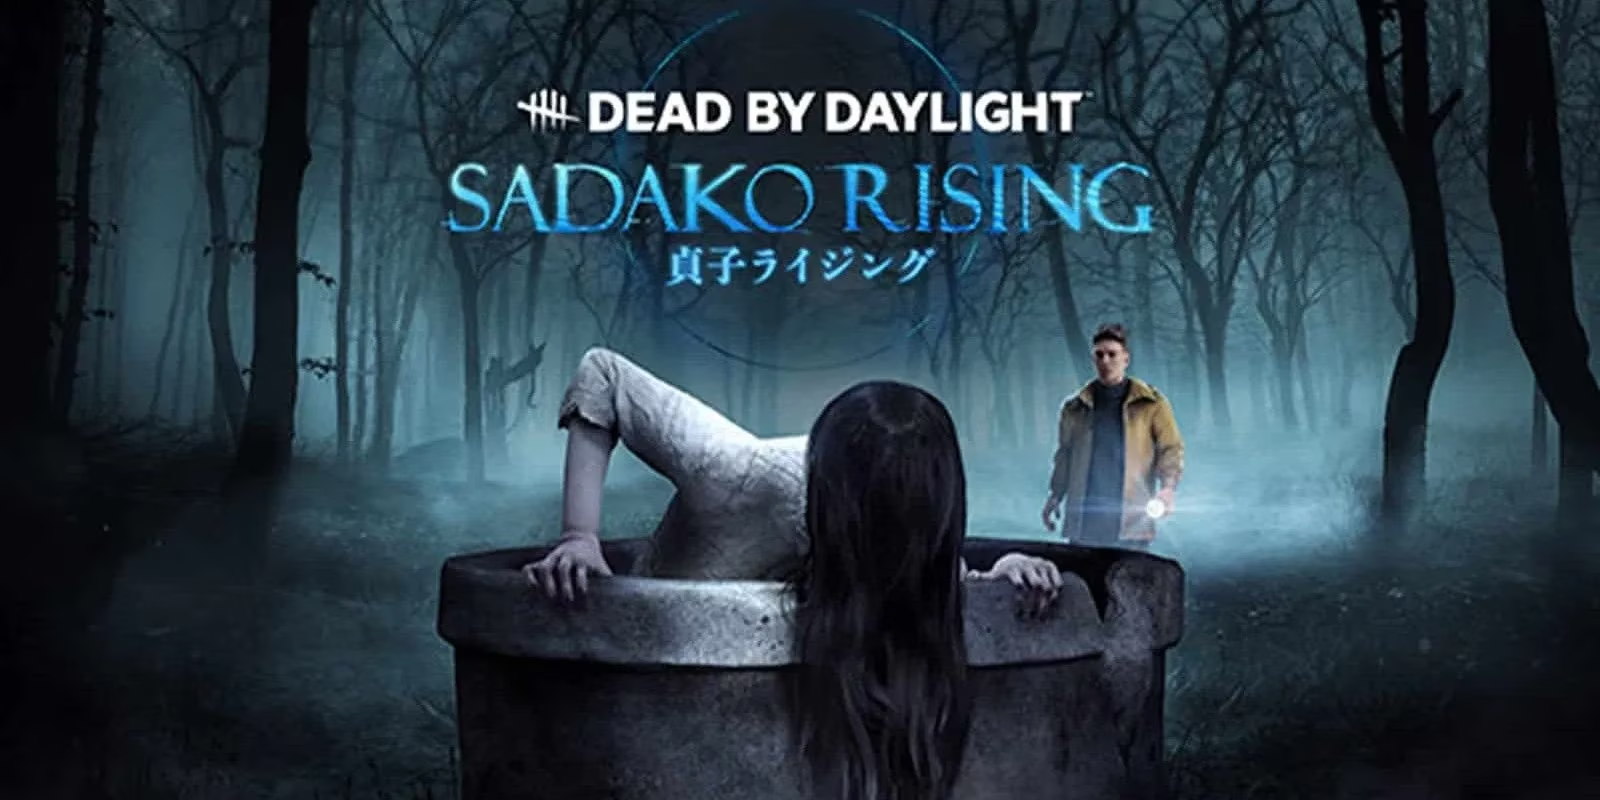
The eerie presence of Sadako Yamamura, better known as the Onryō from Kōji Suzuki’s Ringu cycle, has haunted Dead by Daylight trials since her arrival in 2022. This iconic vengeful spirit brings a playstyle that blends psychological dread with mechanical precision, rewarding those who embrace subtlety over brute force. Unlike many aggressive hunters, Sadako relies on misdirection, map-wide teleportation, and a creeping doom that can eliminate survivors without a single hook. Her toolkit demands patience and foresight, making her one of the most unique and satisfying killers for those who dedicate time to learning her ins and outs.
Understanding Sadako’s Core Mechanics: Demanifestation and the Condemned Curse
At the heart of Sadako’s design lies Demanifestation, a toggleable state that completely suppresses her terror radius and renders her intermittently invisible beyond 32 meters. Within that range, she flickers in and out of sight, creating a disorienting phantom-like presence. While demanifested, she cannot attack or grab survivors, but she can walk through pallets and vaults with enhanced speed. A simple tap of the power button manifests her immediately, allowing for sudden strikes that catch the unwary off guard.
The true terror of the Onryō, however, is the Condemned status. Each time Sadako teleports to a powered TV across the map – a maneuver available only while demanifested – any survivor standing near the destination TV receives a stack of Condemned. When a survivor accumulates seven full stacks, Sadako can execute them on the ground with a unique Mori kill, bypassing any hook progress. This slow-building inevitability forces survivors to interact with scattered televisions to purge their Condemned levels, creating a layer of map control that feeds directly into Sadako’s stealth approach. Veterans often compare her to the Wraith, but her teleportation and the threat of a sudden death sentence set her apart as an entirely different predator.
Perk Synergies: Leveraging Information and Regression
Sadako’s personal perks, introduced with her chapter, form a cohesive strategy around delaying generator repairs and gathering intel. Scourge Hook: Floods of Rage reveals the auras of all other survivors for a few seconds whenever a survivor is unhooked from a Scourge Hook, offering devastating information that guides her next teleport or ambush. Call of Brine causes damaged generators to regress at 200% of the normal speed and notifies the killer with a loud noise notification whenever a survivor succeeds a skill check on that generator. This synergizes perfectly with her hit-and-run playstyle, letting her patrol objectives without constant revisiting. Finally, Merciless Storm launches a difficult skill-check sequence on generators that are 90% complete; failing any check blocks the generator for 20 seconds. These perks collectively slow the game’s pace, giving Sadako the time she needs to spread Condemned and stalk her victims.
Beyond her innate toolkit, several universal perks elevate her to a persistent threat. Discordance highlights generators being repaired by two or more survivors, pinpointing high-value teleport spots. A Nurse’s Calling exposes survivors who are healing within a certain radius, while Hex: Plaything forces survivors to cleanse totems or be oblivious, further masking Sadako’s approach. The combination of tracking information and relentless regression creates a web of pressure that becomes increasingly inescapable as the trial progresses.

Add-ons and Tactical Adjustments
Sadako’s add-ons allow players to fine-tune her stealth and Condemned mechanics. For those seeking to emphasize her ambush potential, Well Water decreases the time it takes to manifest after a teleport, while Rickety Pinwheel extends the duration she remains invisible after manifesting. Together, these add-ons can blur the boundary between demanifested and physical presence, making it nearly impossible for survivors to react in time. Other useful additions include Tape Editing Deck, which speeds up teleport recovery and increases Condemned application, and Iridescent Videotape, which significantly boosts Condemned gain but limits her teleport options.
When facing coordinated teams, players might swap to add-ons that improve her chase potential indirectly. Mother’s Comb inflicts the Mangled status on any survivor hit while Sadako is demanifested, slowing down heals and keeping targets vulnerable. Meanwhile, Reiko’s Watch grants a brief speed boost after canceling Demanifestation, helping close distances during loops. Because Sadako lacks a dash or ranged power, these subtle speed enhancements become vital against survivors who expertly loop obstacles.
Overcoming Looping Weaknesses and Chasing Smarter
Without a dedicated anti-loop power, Sadako struggles when survivors force long chases around safe pallets and vaults. Her standard attack speed and lack of mobility in the chase make her susceptible to exhaustion perks and tight structures. To counter this, experienced Sadako players rely on surprise rather than persistence. Demanifested approaches allow them to cut off routes before survivors even realize the killer is near. Using TV teleports to cut across the map and anticipate survivor movements creates opportunities for devastating first strikes.
Prediction is essential. When sliding out of a television, Sadako emits a distinct sound cue that alerts nearby survivors. Smart pursuers will manifest away from the direct path and circle around to intercept fleeing targets. Add-ons that shorten the manifest time or prolong invisibility make these predictions far more forgiving. Maps with closely clustered TVs, such as The Game or Midwich Elementary School, amplify her teleport-based mind games, while open, loop-heavy realms like Blood Lodge require careful use of lockers and LOS breakers to secure hits.
The Long-Term Reward of Mastering Sadako
Despite her initial learning curve, Sadako rewards dedication with an immensely satisfying playstyle that feels distinct from all other killers. Her ability to exert map pressure through teleportation and gradually build toward an instant kill shifts the focus away from traditional hook states and into a sustained psychological campaign. Survivors who ignore the creeping doom of their Condemned meter soon find themselves on the floor, staring into the static of a cursed videotape. The Onryō exemplifies how Dead by Daylight can translate horror movie logic into compelling gameplay, making her a standout addition to the roster even four years after her debut.
As the game’s meta continues to evolve, Sadako remains a potent choice for players who favor mind games over raw aggression. When mastered, she becomes an invisible tide that slowly engulfs the trial, leaving no generator unregressed and no survivor safe.
Leave a Comment
Comments