Mastering the Skull Merchant: A 2026 Survivor's Guide to Countering Adriana's Drone Tactics
Mastering the Skull Merchant counterplay in Dead by Daylight 2026 demands strategic loop connection and proactive three-gen prevention to dismantle her high-tech drone surveillance and area control.
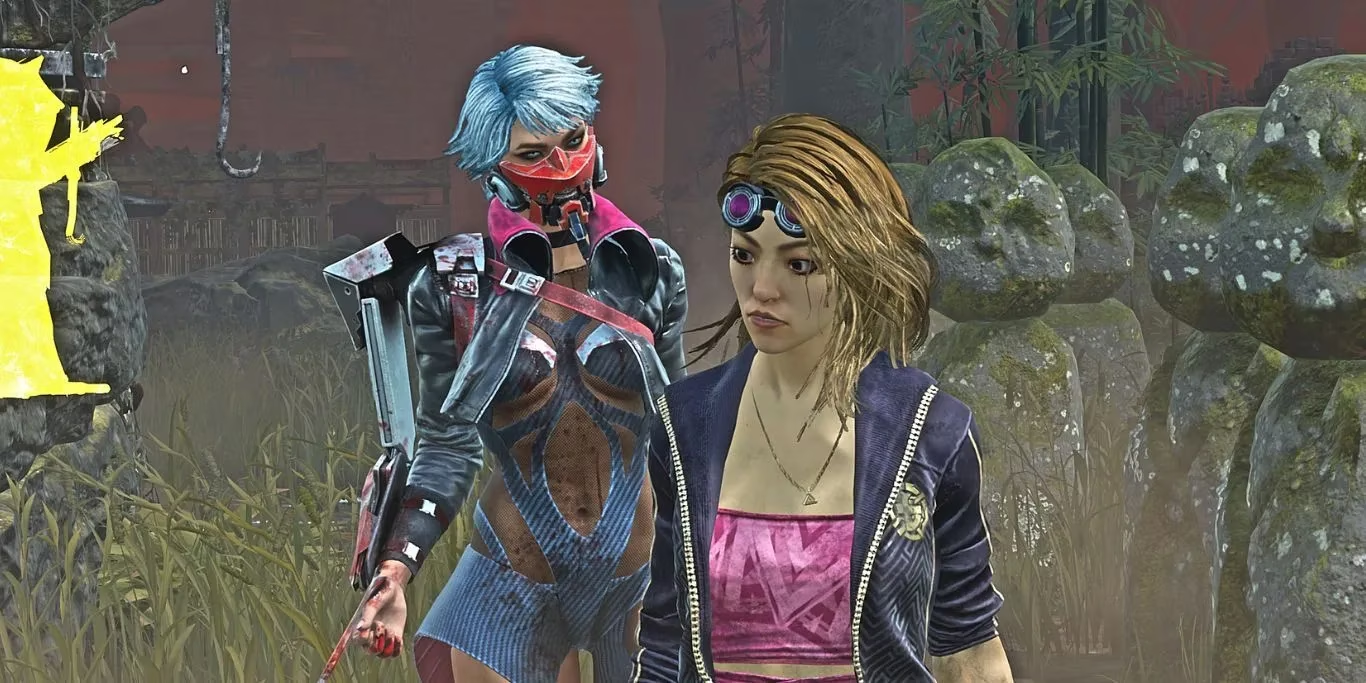
As a dedicated Dead by Daylight player in 2026, I've faced my fair share of killers, and I can tell you, few are as uniquely challenging in the modern meta as the Skull Merchant, Adriana Imai. Her gameplay revolves around area control and information gathering through her high-tech drones, creating a tense, cerebral hunt that's a far cry from the straightforward chases of other killers. If you're a survivor, you can't just rely on raw looping skill; you need a strategy. Over the years, the community has refined the counterplay, and today, I want to share the essential tactics that have helped me and countless others turn the tables on this technological predator. It's all about understanding her tools and exploiting the gaps in her surveillance network.
Connect Different Loops Strategically

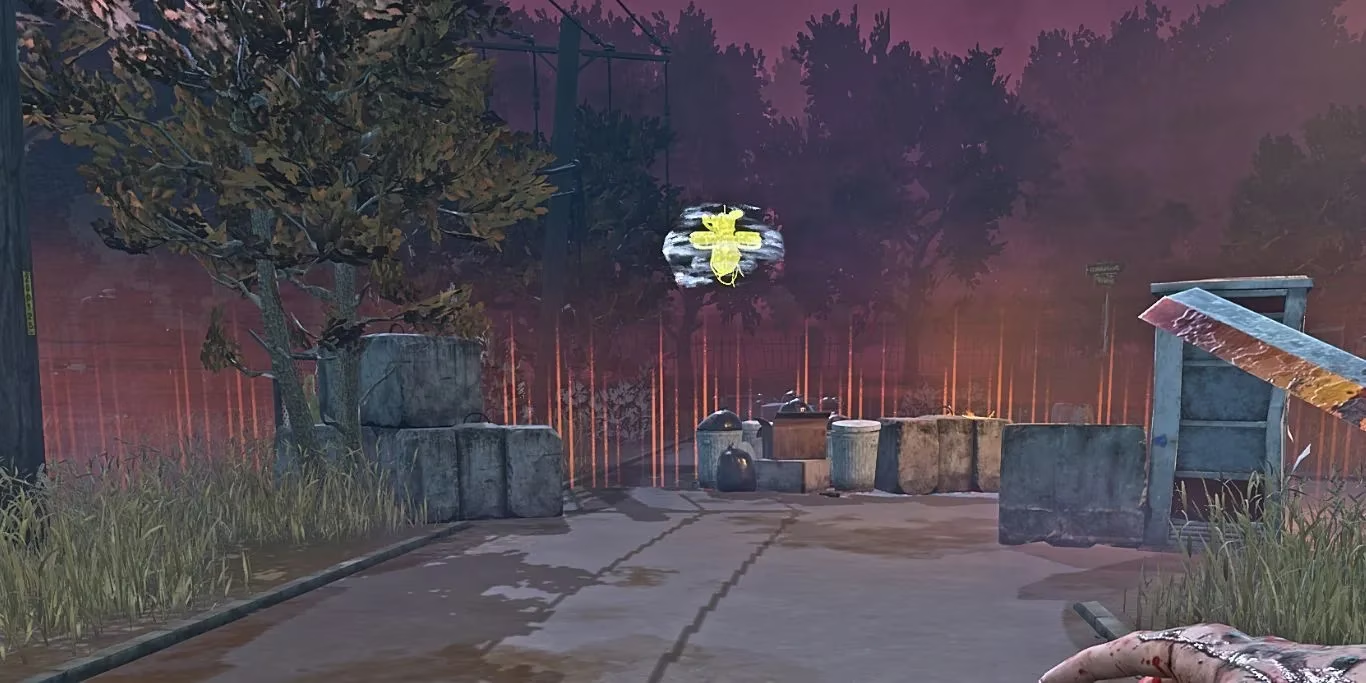
Let's talk about her primary weapon: the Drone. When Adriana places one, it activates after a brief delay, creating a detection zone. The real danger isn't the initial scan—it's the Lingering Exposure. If you loiter inside that radius for too long, you'll become Exposed, meaning you'll go down in one hit regardless of your health state. This fundamentally changes how you navigate the map.
My golden rule? Never get cornered in a dead zone. Maps often have strong structures like the Killer Shack or a main building positioned near weaker tiles. A skilled Skull Merchant will saturate these powerful loops with drones, forcing you out. Your goal is to create a path of connected, weaker loops outside the drone's range. Think of it like a relay race; you use one safe spot to transition to the next before the exposure timer ticks down. If you're caught on a strong loop when a drone deploys, don't panic and flee immediately. You have a grace period. Use those precious seconds to finish the loop, bait a pallet, and then disengage intelligently to a pre-scouted secondary tile. Remember, if she stands in her own drone's radius, she gains the Undetectable status, losing her terror radius and red stain. This makes mind-games at safe pallets even more critical.
Sabotage The Three-Gen Strategy From The Start

This is arguably her most potent and, frankly, tedious strategy. The "three-gen" involves Adriana protecting the three generators closest to each other on the map, creating an impregnable late-game fortress. She'll guard them with drones and patrol relentlessly. In 2026, with map changes and new perks, letting her set this up is a recipe for a 30-minute stalemate.
Prevention is absolutely key. From the moment you load in, be geographically aware. Pay attention to generator spawns and what your team is repairing. If you notice multiple pops in one quadrant of the map, it's your signal to divert and pressure the farthest generator. This spreads the objective threat and denies her that tight cluster. Keep an eye out for drone placements early on. Some players will immediately deploy drones on their chosen three-gen. If you spot two drones near adjacent generators, that's a huge red flag. Your priority should be to safely deactivate one of those drones and work on the nearby gen to break the triangle before it solidifies. Communication, even with just pings in solo queue, is vital here.
Embrace The Injured State: Her Power's Greatest Weakness
Here's a paradigm shift that changed my gameplay: When you're injured, her drones are far less scary. The Exposed status is terrifying at full health, but if you're already one hit away from being downed, it loses its primary threat. Suddenly, those drone-protected loops are open for business again. Adriana becomes more like a standard M1 killer with stealth perks when chasing injured survivors.
This opens up powerful perk synergies and a bold playstyle:
| Perk | Effect & Synergy |
|---|---|
| 🏃♂️ Dead Hard | The classic exhaustion perk. Timing it correctly grants an extra health state, extending chases massively. It only works while injured, making it a perfect counter to her exposure threat. |
| ⚡ Resilience | A 9% speed boost to vaulting, healing, and most importantly, generator repair while injured. This helps counter her slowdown and power through gens in her three-gen zone. |
| 🤫 Iron Will | Reduces grunts of pain by 75%. Combined with her Undetectable status, it turns chases into a game of cat-and-mouse where audio cues are minimal, allowing for sneaky breaks in line of sight. |
| 🩹 Renewal | A more modern choice for 2026. Allows for a safe, automatic heal later, letting you stay injured aggressively in the early game without permanent penalty. |
By committing to an injured build, you can brazenly work on generators inside drone radii during a three-gen standoff, forcing her to commit to a chase she might not win.
Heightened Situational Awareness is Non-Negotiable
The updated Survivor HUD is a blessing, showing chase status icons on your teammates' portraits. Against Adriana, you must interpret the silence. If no one shows the "in chase" indicator, but you haven't seen the killer in a while, be extremely cautious. She could be Undetectable, lurking near a drone, and closing in for a grab. This is especially true when you're working on a generator or cleansing a totem.
Her add-ons can extend the duration of her Undetectable status after leaving a drone's field, making her a true phantom. Constantly pan your camera, listen for her faint footsteps (which aren't fully masked), and be ready to abandon a gen at a moment's notice. Getting grabbed is a massive tempo loss.
The Best Teacher: Play as The Killer Yourself
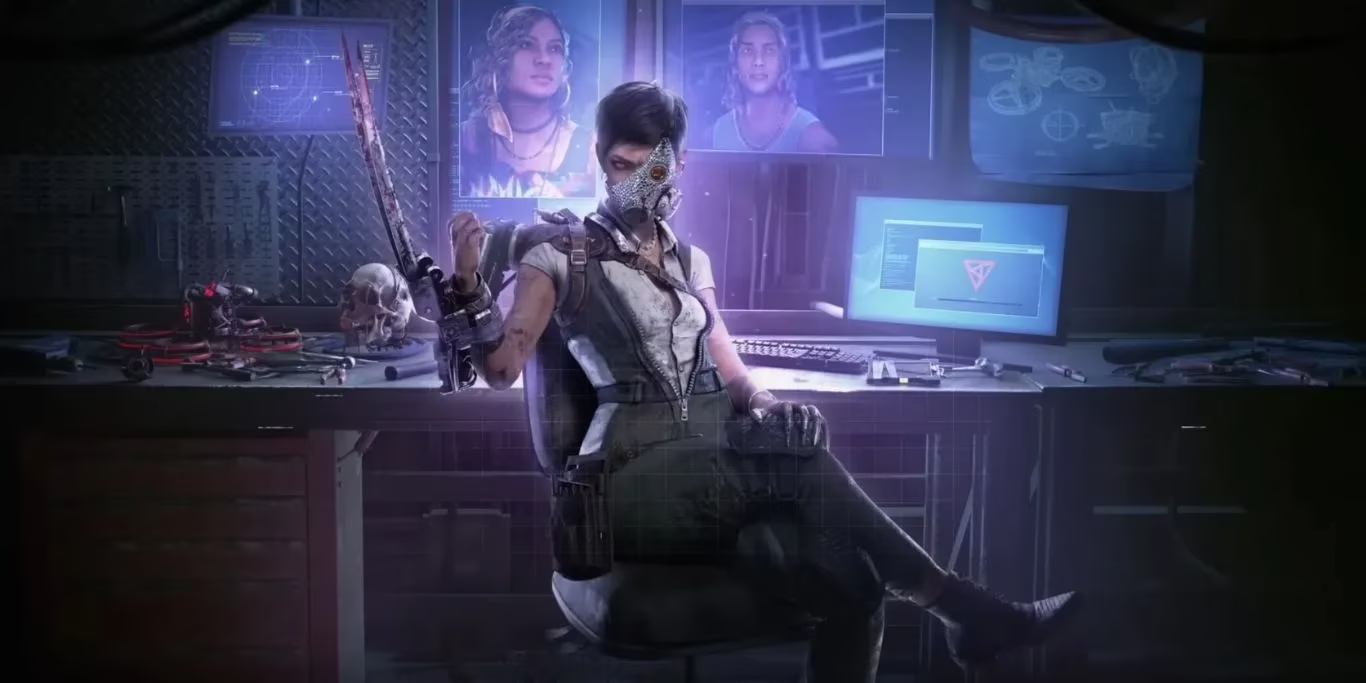
I cannot stress this enough. To truly master countering a killer, you need to walk a mile in their shoes. Playing as the Skull Merchant will teach you the cooldowns, the drone placement angles, and the radar pings' exact range. You'll feel the frustration when survivors efficiently chain loops outside your web and understand the critical timing of when to recall and replace drones. You'll learn the tell-tale signs of a survivor who knows your weaknesses versus one who is panicking. This firsthand knowledge is invaluable and will make you a much more predictive and effective survivor when you switch back.
Confidence and Self-Sacrifice in Solo Queue
Facing a Skull Merchant in solo queue can feel hopeless, but a single confident player can be the catalyst for victory. Sometimes, you have to be the bait and the strategist. Here's how:
-
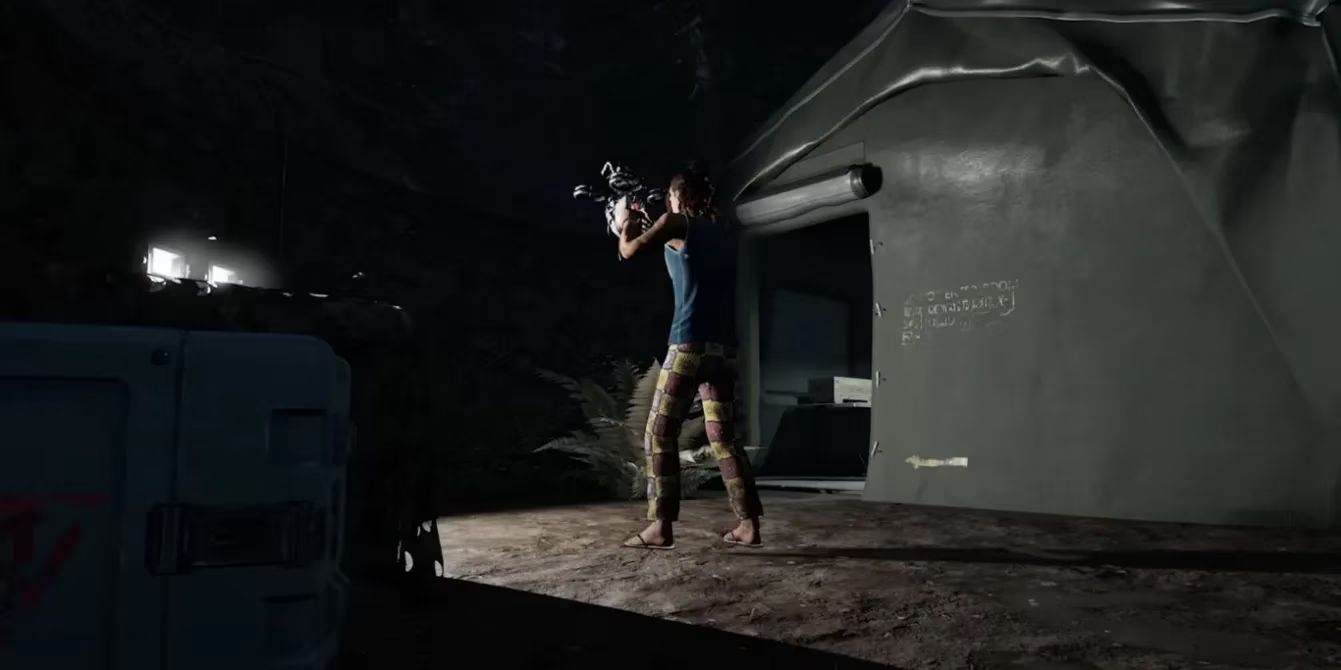
Carry the Claw Trap: When you deactivate a drone, you get a Claw Trap. Instead of immediately removing it, consider keeping it. It emits a tracking signal to the killer, essentially painting a target on your back. Use this to draw her into a prolonged chase away from the critical generators, giving your team space to work.
-
Aggressive Drone Disruption: Make it your mission to deactivate key drones. Not only does it remove the threat, but it also recharges your Claw Trap battery, letting you stay tracked and annoying for longer.
-
The Deliberate Exposure Gambit: In a brutal three-gen scenario, sometimes the play is to intentionally get exposed by a drone. This often triggers the killer's instinct to chase. If you're confident in your looping, you can waste minutes of her time, allowing even random teammates to recognize the opportunity and slam a generator.
Ultimately, beating the Skull Merchant in 2026 is about out-thinking the web. It's a battle of zone control, resource management, and bold decision-making. Move smartly, leverage the injured state, disrupt her plans early, and never, ever underestimate the power of a survivor who knows her kit better than she does. Good luck in the Fog! 😉
Leave a Comment
Comments